The latest versions of Atmel Studio 7 seem to omit External Tools… from the Tools menu. This command is necessary to add your own programmer so it can be launched from Studio. If it is missing, how is it added?
[Update November 2018]
On the latest version of Atmel Studio 7 (7.0.1417), they have even omitted Tools menu!
At the very top of the screen is a label called Advanced Mode. Click this to restore Tools menu.
[End Update]
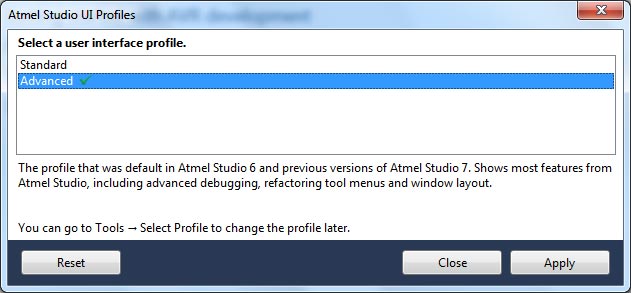
There are several ways to do it. The easiest is to go to Tools Menu -> Select Profile and change the selection from Standard to Advanced.

Advanced was the default profile in all previous versions of Atmel Studio, so why they have done this is a mystery.
Advanced Method of Modifying Tools Menu
The following steps need to be done to add External Tools to Tools Menu. This will work for other menues and selections as well.
- Go to Tools menu -> Customize…
- Select Commands tab and set Menu Bar to Tools
- Select External Tools from Controls list below
- Click Add Command button

When you click Add Command button, a dialog appears.

- Select Tools in Categories list
- Select External Tools… in Commands
- click Ok.
Close the Customise dialog and External Tools… should be in Tools menu so you can add your own programmer.
Programmer Example
Once you have External Tools.. in Tools menu, click it and a dialog appears. You need to click Add button, then give the tool a name, path and any arguments it needs.
Here is Kanda AVRISP-U as an example.

$(ProjectDir) and $(ProjectFileName) are Atmel Studio constants. They include path information and slashes and should not have any spaces.
You can add any programmer you like with this method. If the tool has the facility, adding project file name will allow the hex file to open automatically in the programmer. AVRISP-U will take the AVR device and hex file from the Studio project file.
